
Setting Up for Accurate Readings
Before you connect gauges or take any readings, let the system run for at least 10-15 minutes. A system that just started hasn't stabilized — temperatures and pressures are still changing. Readings taken too early will mislead you.
Conditions that affect your readings: - Outdoor temperature: affects head pressure and condensing temperature - Indoor temperature and humidity: affects evaporating conditions - Airflow: low airflow (dirty filter, restricted return, blocked coil) makes charge look low
Document the conditions every time you take readings.
Superheat Procedure (Fixed Orifice Systems)
1. Connect gauges. Record suction pressure. 2. Convert suction pressure to saturation temperature using your PT chart for the specific refrigerant. 3. Measure suction line temperature with a clamp-on thermometer 6-12 inches from the service port. 4. Superheat = suction line temperature minus saturation temperature. 5. Compare to target using the manufacturer's charging chart (indoor wet-bulb vs. outdoor dry-bulb).
If superheat is too high: Low charge, or a restricted liquid line / metering device. Add refrigerant slowly, wait for stabilization, recheck.
If superheat is too low: Overcharge, or a flooding metering device. Recover refrigerant, recheck.
The key mistake: adding charge based on a single reading without waiting for stabilization. Add a small amount, wait 5 minutes, then recheck before adding more.
Subcooling Procedure (TXV Systems)
1. Connect gauges. Record liquid line (high side) pressure. 2. Convert liquid line pressure to saturation temperature. 3. Measure liquid line temperature near the liquid service valve. 4. Subcooling = saturation temperature minus liquid line temperature. 5. Compare to manufacturer target (typically 10-15°F for most residential TXV systems).
If subcooling is too low: Low charge. Add refrigerant.
If subcooling is too high: Overcharge, or a restricted liquid line. If you have high subcooling before the filter drier and lower after, the drier is restricted — replace it.
When Readings Don't Make Sense
Low suction pressure + high superheat: Low charge or a restriction in the refrigerant circuit. Check for filter drier restriction. If no restriction, suspect low charge.
High suction pressure + low superheat: Overcharge, flooding TXV, or low airflow across the evaporator.
High head pressure + normal suction: Condenser problem — dirty condenser, high ambient, failed condenser fan. Not a charge issue.
Low head pressure + low suction: Could be low charge, but could also be a failing compressor. A compressor with worn valves will have pressures that equalize more than expected.
Documenting Your Charge
When you leave a job, write on the unit: - Date - Refrigerant type - Suction pressure and temperature (superheat calculated) - Liquid line pressure and temperature (subcooling calculated) - Outdoor ambient temperature - Indoor supply and return air temps
This takes two minutes and is worth its weight in gold when someone comes back to that system.
Was this helpful?
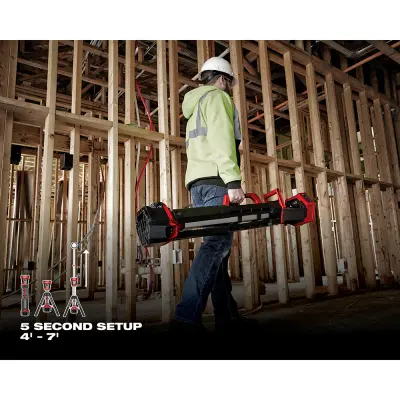
M18 ROCKET™ Tower Light
5-second setup. The jobsite light every tech needs.
Shop at Home Depot →Keep Reading

Got a question? A funny story? A win from the field?
Drop your email and share what's on your mind. Best questions become articles.